> For the complete documentation index, see [llms.txt](https://docs.pyas.io/llms.txt). Markdown versions of documentation pages are available by appending `.md` to page URLs; this page is available as [Markdown](https://docs.pyas.io/fundamentals/getting-set-up/create-webhooks.md).
# Create Webhooks
Get notified when there are changes/updates to accounts, calendars, and events.
You can use webhooks for 2-way syncing of calendar events. All you need to do is provide Pyas with a webhook URL and select the events you would like to receive notifications for.
**Note**: Using webhooks for 2-way syncing is only supported for Google and Microsoft at this time.
### How it Works
1. You provide a webhook URL.
2. You choose which triggers/notifications you want to receive from Pyas.
3. Pyas sends the notifications in a **POST** request to the webhook URL that you provided.
4. You receive and handle the notifications on your end.
### Pyas will send notifications for the following triggers:
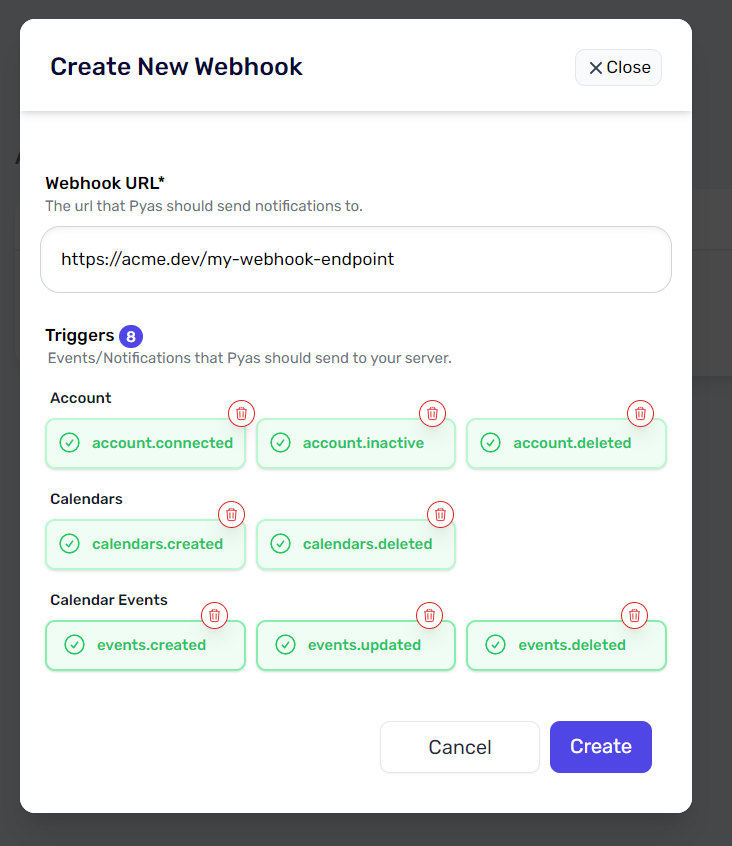
1. **Accounts** - these are for your users' *connected* accounts in Pyas.
* `account.connected`
* `account.inactive`
* `account.deleted`
2. **Calendars** - these triggers currently work for Google only.
* `calendars.created`
* `calendars.deleted`
3. **Calendar Events** - these triggers work for Google and Microsoft.
* `events.created`
* `events.updated`
* `events.deleted`
## The Webhook Request
### Method
POST
### Headers
Each request has the following headers:
```typescript
'x-pyas-account-id': string. // The id of the connected account in Pyas
'x-pyas-webhook-event': string. // The event trigger
'x-provider': string. // The connected account's provider. (Google, Microsoft, or Zoom)
```
### **Body**
The request body for **Calendar Events** notifications will have an events array and looks like this:
```typescript
{
"events": [
{
"calendarId": string. // The calendar id
"eventId": string. // The event id
}
]
}
```
The request body for **Calendar** notifications will have an array of calendar ids and looks like this:
```typescript
{
"calendarIds": [ // calendar id strings ]
}
```
The request body for **Account** notifications is empty.
## Create a new Webhook
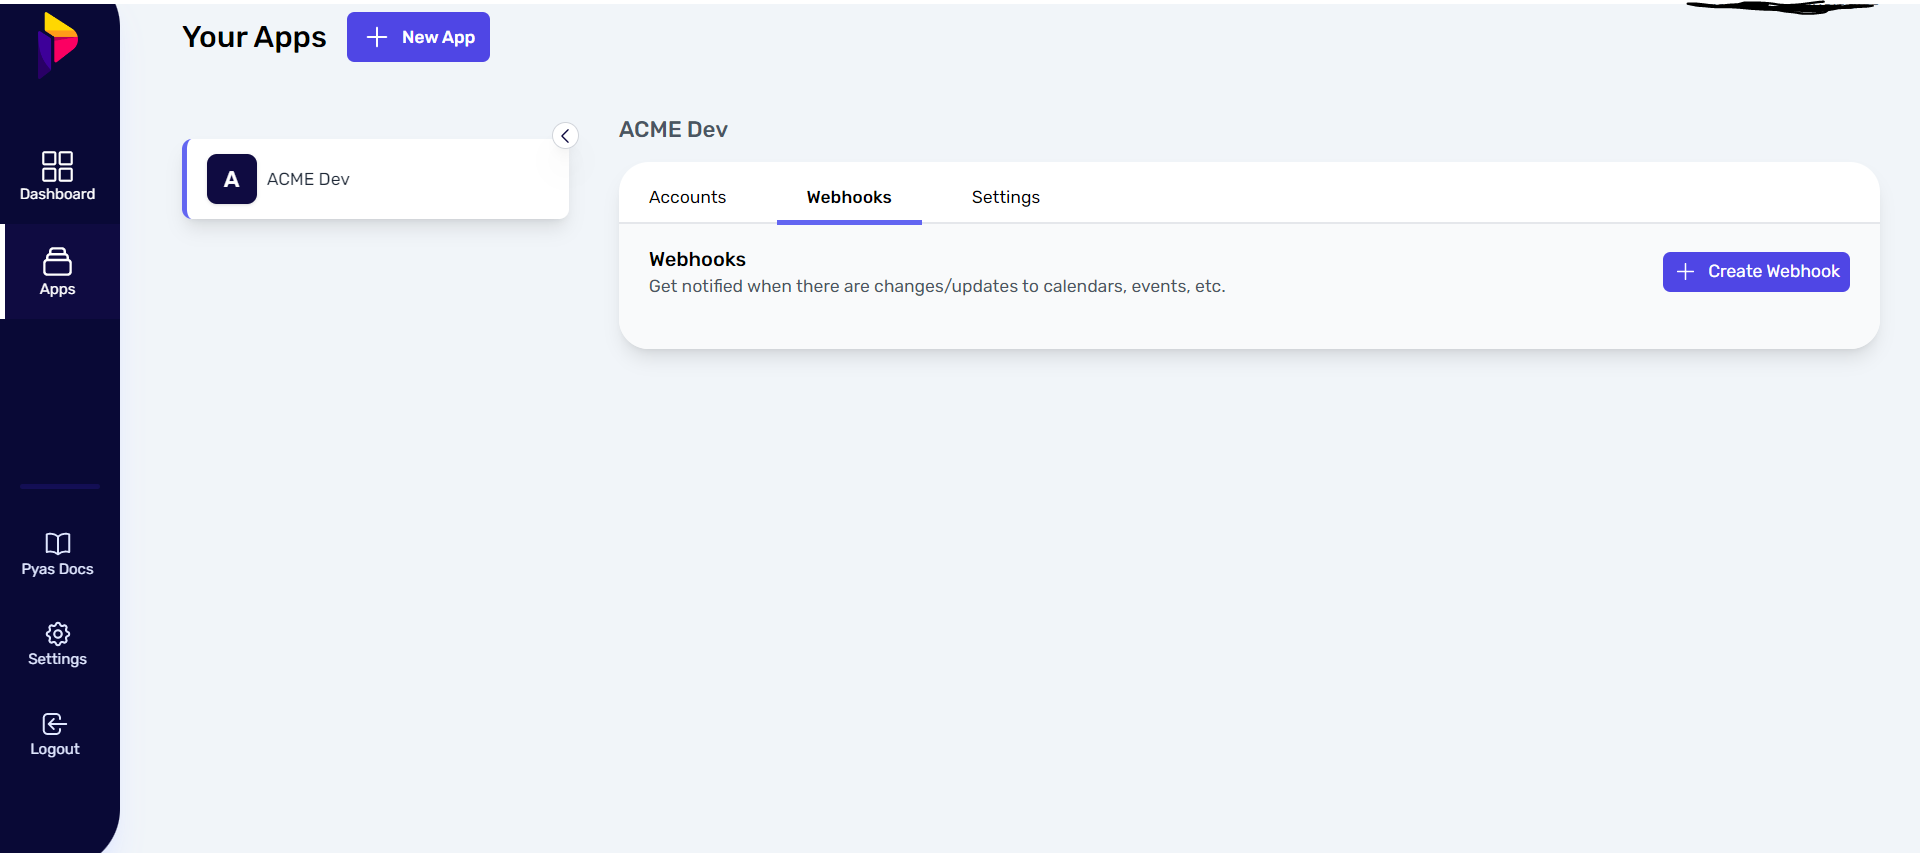
1. Login to your Pyas account and click on the **Apps** tab on the left menu.
2. Select the app that you want to set the webhook for.
3. From the app screen, click on the **Webhooks** tab.
4. Click on the **Create Webhook** button.
5. Add your webhook URL. This is a URL that should be setup on your server to receive the webhook notifications from Pyas.
6. Select the triggers that you want. These are events/notifications that Pyas will send to your server.
7. **Click the Create** button.
### That's it!